Creating a Release Pipeline for Deploying Node App to Azure
So you've decided that you want to deploy a NodeJS application on Azure Web App, but all of the official (and well documented) guides use GitHub/Bitbucket/FTP it seems like no one uses Azure DevOps (previously VSTS), or is it?
Here is a small overview of Azure DevOps :
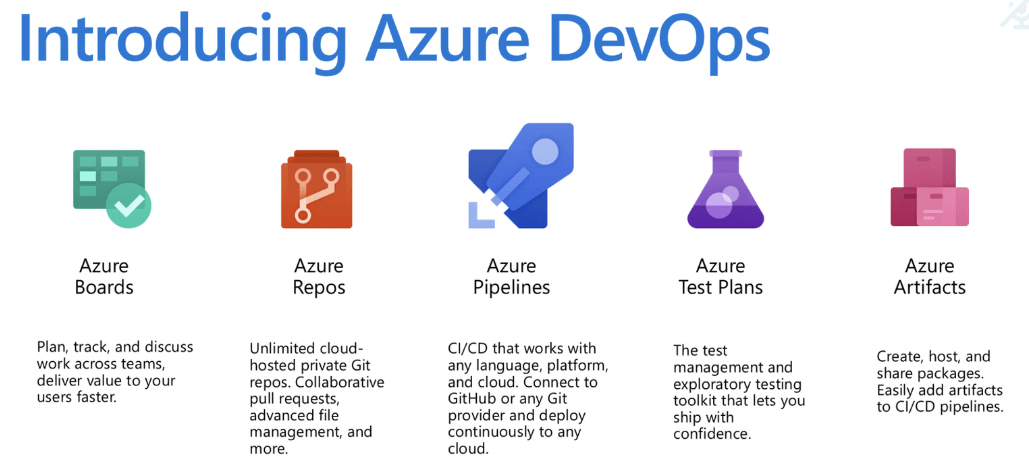
I am going to use Azure Pipelines in order to create a build and deploy it to Azure.
Creating a NodeJS application
To deploy an application we, first, need an application. Before we can have an application we need a project in the Azure DevOps.
To create a project simply click the Create button once you get to the Azure DevOps portal.
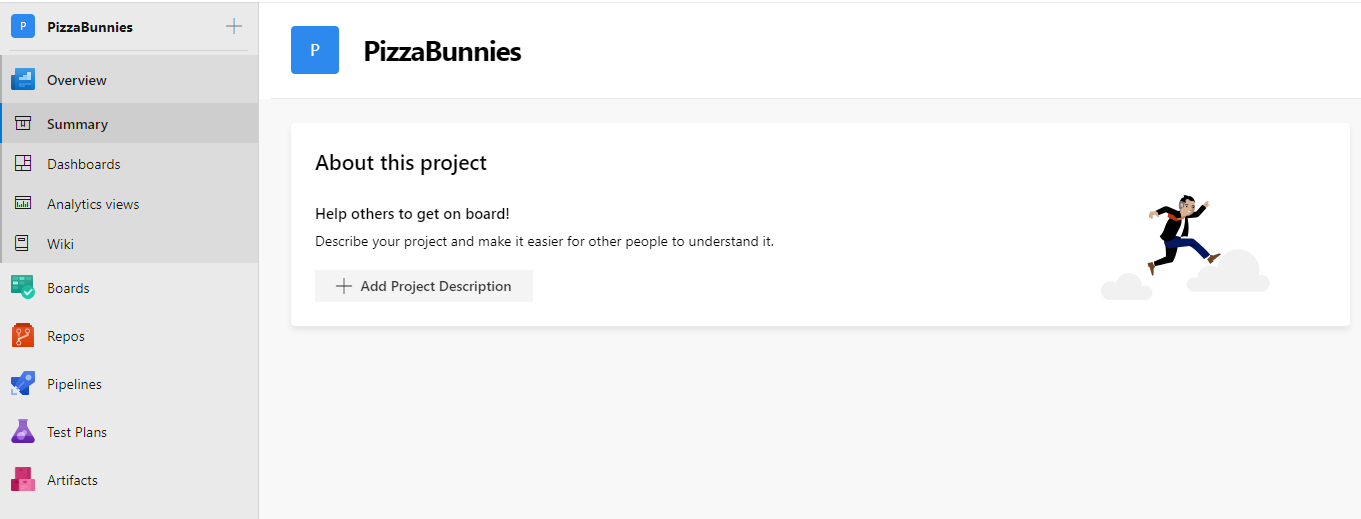
I have created a simple Hello World application in there that is listening on port 3000.
server.ts file:
import * as express from "express";

const app = express()
let port = 3000;
if (process.env.PORT !== undefined) {
  port= process.env.PORT;
}

app.get('/', (req, res) => res.send('Hello World!'))

app.listen(port, () => console.log(`Example app listening on port ${port}!`))
The example is taken from http://expressjs.com/en/starter/hello-world.html
In this case, I'm using Gulp for compiling Typescript and for creating source maps. But any other build tool/pipeline may be used instead.
For local REST API development and debugging, in the content of the server.ts file, I am using the port 3000. This will need to be overridden as in the Azure WebApp the listening port is given by the PORT environment variable.
Create the build pipeline
Going into your Azure DevOps dashboard and then into Pipelines and the Builds subsection.
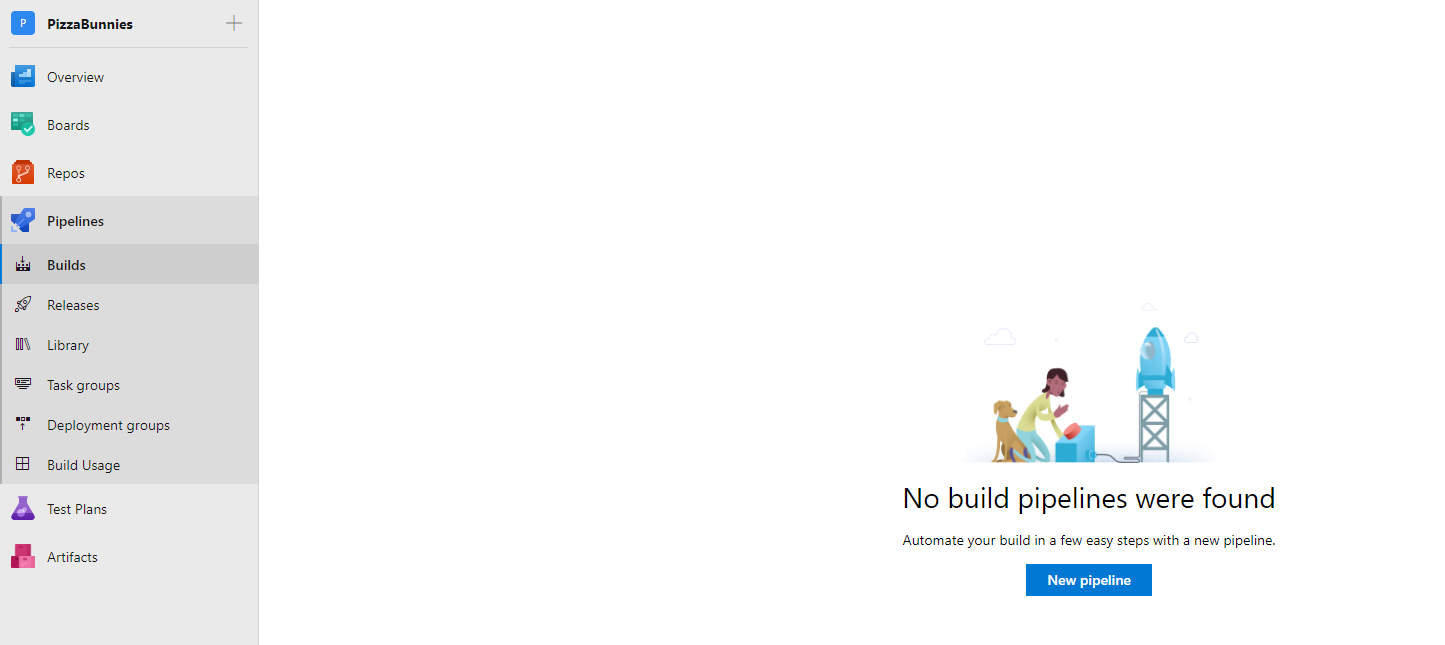
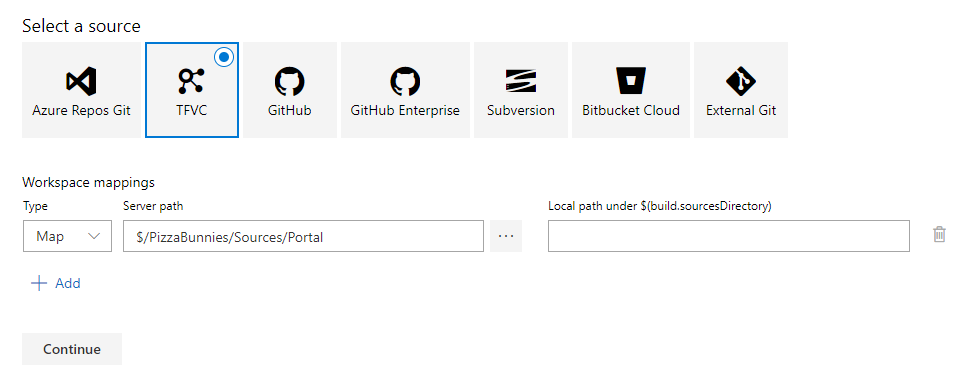
Just click the New Pipeline button and create a mapping for your exact project folder and hit Continue
You will be greeted with a menu that asks you to map the project folder to a working directory.
As I am going to build and release the Portal project, I will map it directly to the working directory.
After the mapping, you will be greeted with a template selection
As of this writing, there are two build templates:
Node.js with gulpNode.js with grunt
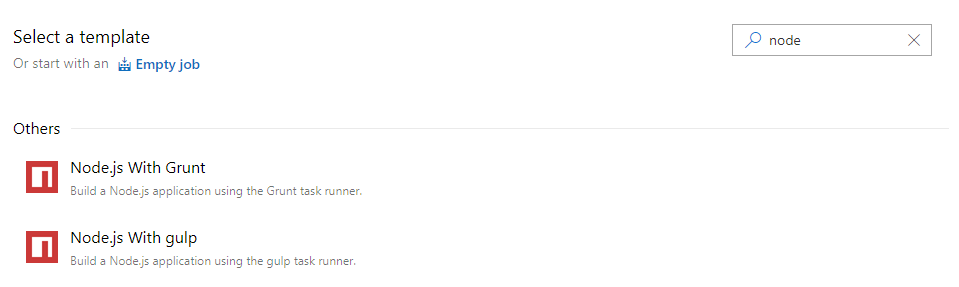
As I've used Gulp in our new application, so the Gulp template is the one I am going to choose. In any case, you can choose an Empty Pipeline template if you can't find a template that fits your needs.
Configuring the build pipeline
Once you have created the pipeline, now is the time to fill it up with useful configurations.
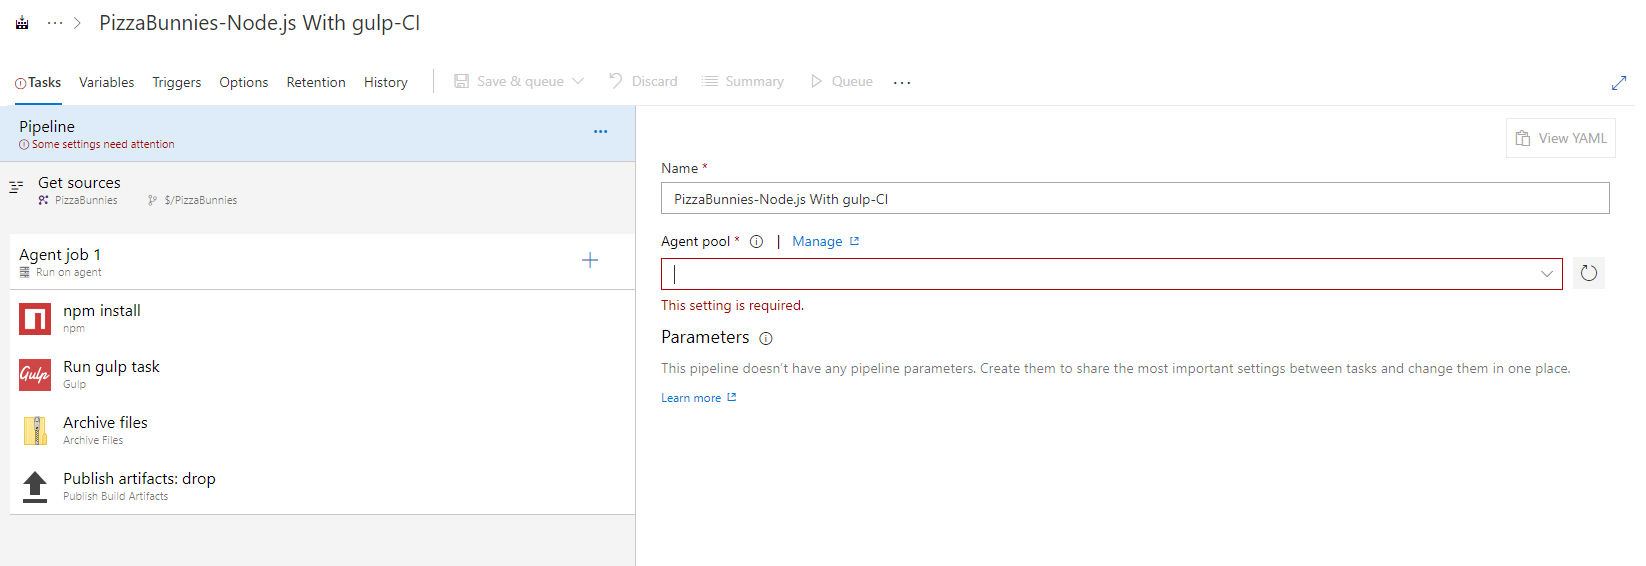
The build pipeline steps are:
- npm
- Gulp (or any other build process you are using)
- Archive files
- Publish Artifact
A quick info about the pipeline tasks
If you have not worked with Node.js before the npm (Node Package Manager) task will install the necessary packages that are required for our code to run. The specific package requirements are located in the package.json file.
The Gulp will compile out Typescript files into JavaScript files that we will eventually run
The Archive files task will bundle the files with the dependencies together.
Finally, Publish Artifact will publish our build result.
And now back to the task's configuration
If you have created the pipeline from a template (like in the example above), you will have to set the Agent Pool parameter depending on your needs.
Take a look at the official documentaiton for the exact capabilities and software version differences between the agents.
For the demo, I will choose the Hosted agent type.
In case you have created the pipeline from an empty template, configure your Agent job 1 to have the following Demands:
npm - exists
node.js - exists
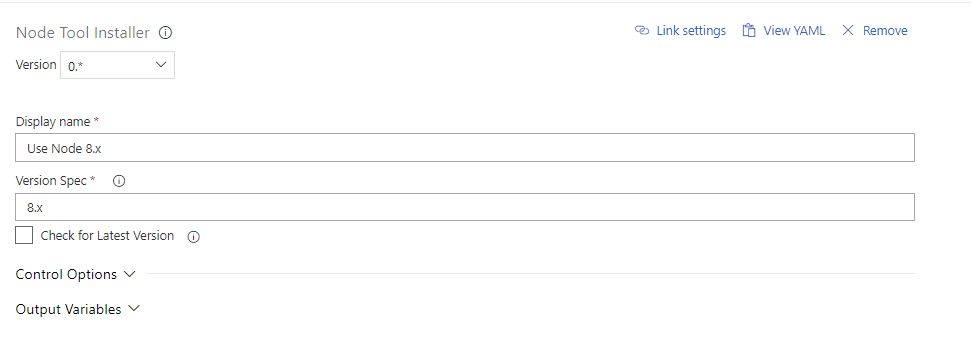
The version that is configured on the agent does not mean that you cannot install a different version of Node.js just for your build process.
To do that you will need the Node Tool Installer task to the pipeline as the 1st step in the pipeline. All you need to do is to configure the Version Spec to the version that you are working with and you're set.
I am going to configure mine to install the latest 8.x version.
In our case, the Gulp task that starts the compile process is called build, so this is the task name that should be used in the Gulp pipeline tasks.
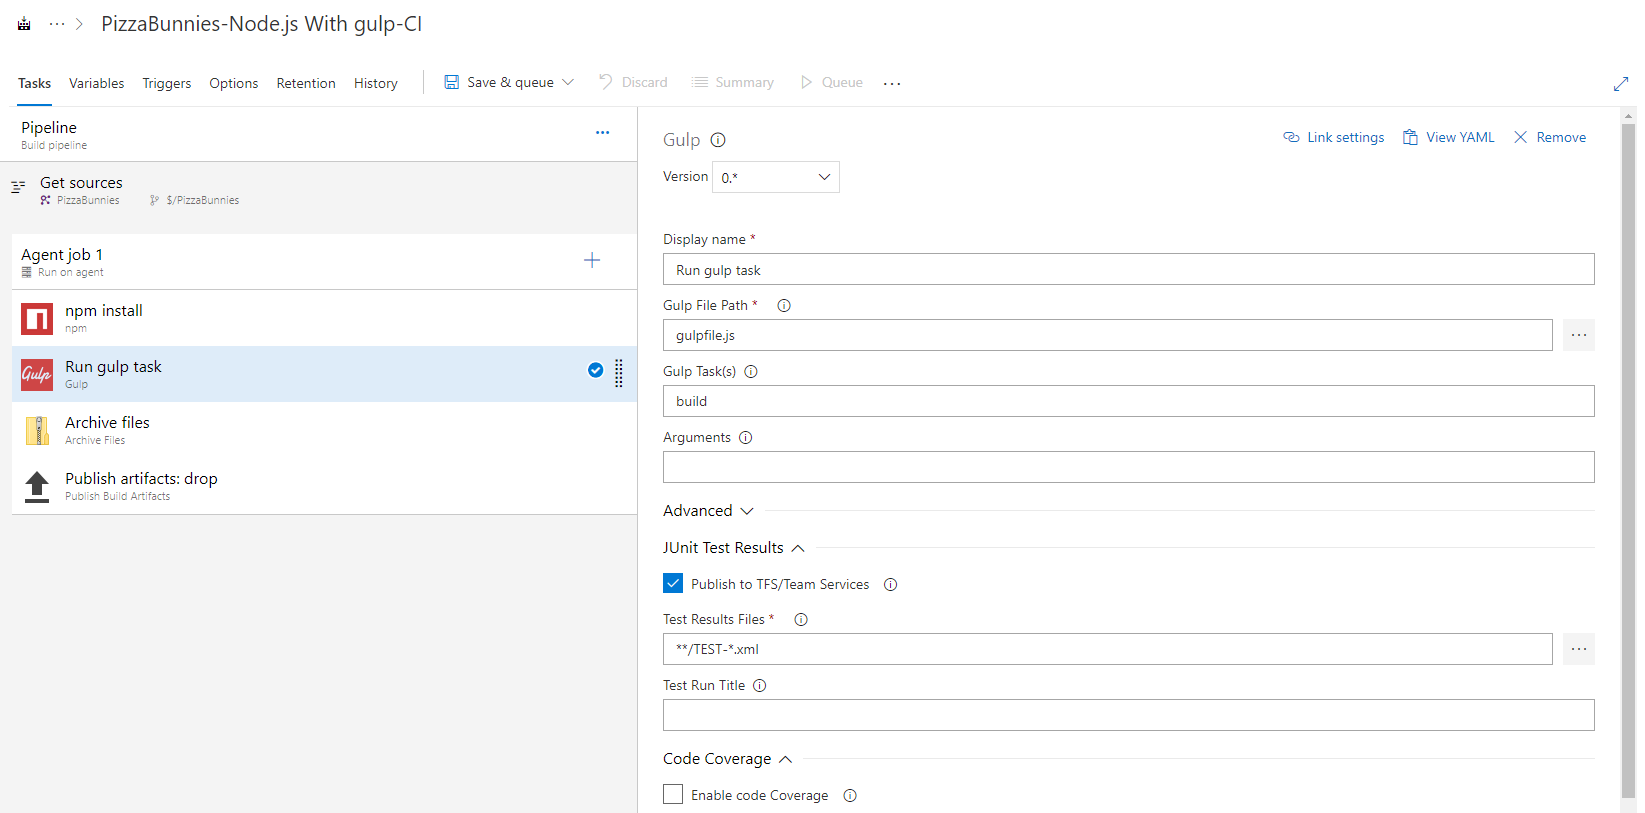
Once the Gulp task has finished, the compiled files are stored in the same location as your source.
Inside the Archive files task, change the Root folder field to $(System.DefaultWorkingDirectory)
The Archive files task will zip all of your and will create the archive file at the destination location.
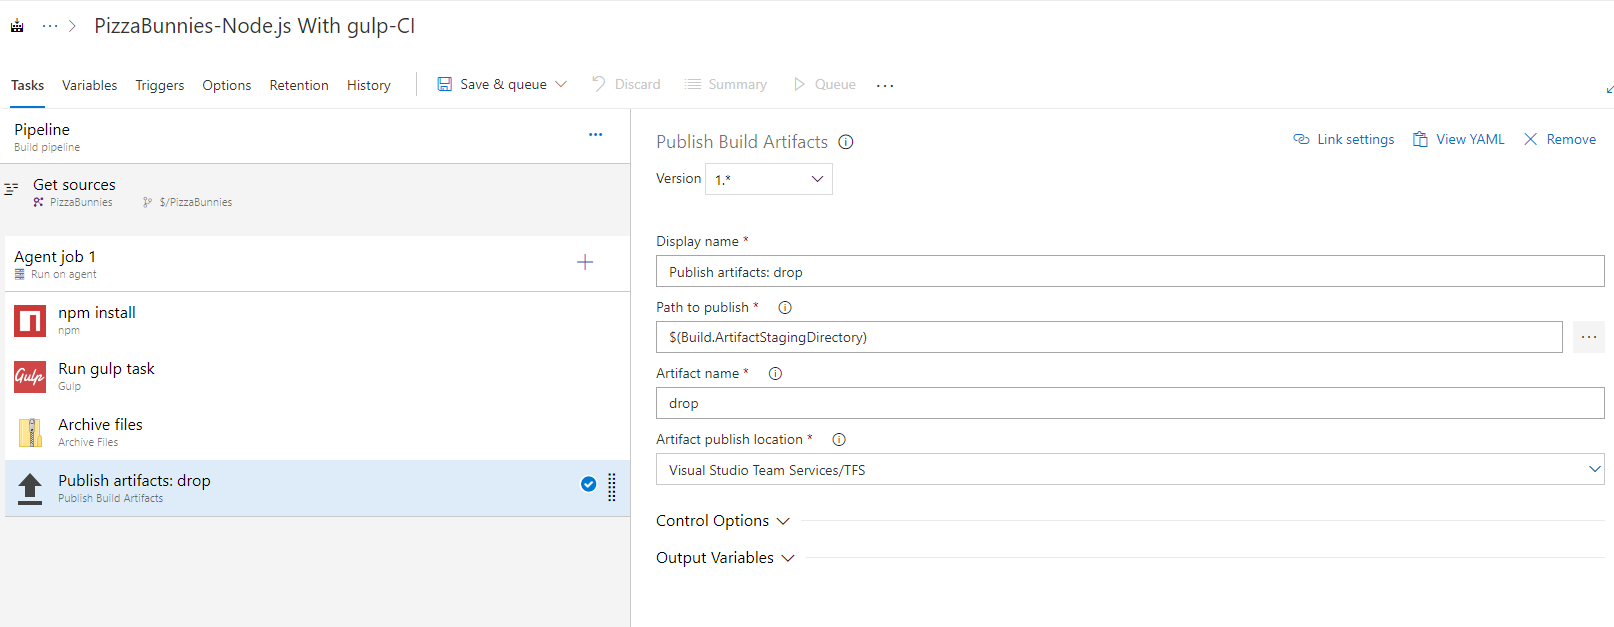
The Publish Artifact task does not require any changes as the files it is publishing is from the $(Build.ArtifactStagingDirectory) directory.
After that simply click the Save and Queue button and wait for the build to finish.
Configuring the Release Pipeline
To deploy our newly created build we need to create a Release Pipeline.
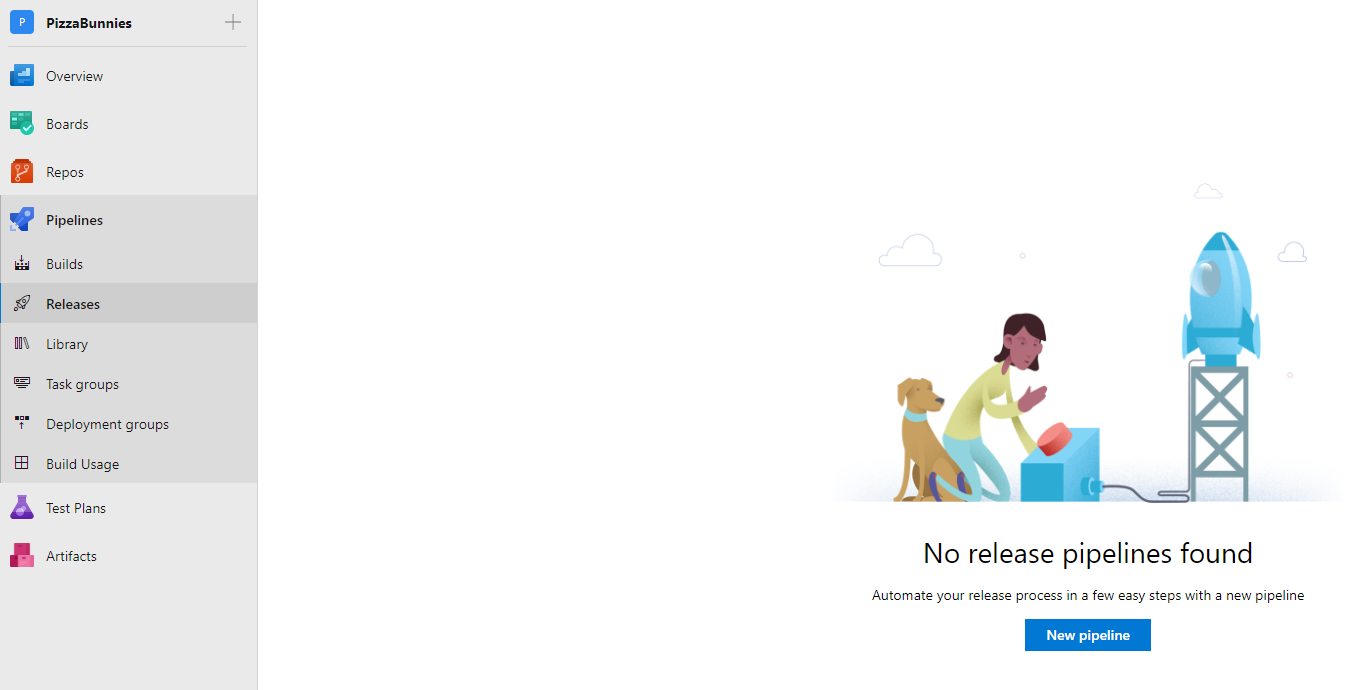
When trying to create a new release pipeline we are greeted with the same selection, use a template or go with an Empty job.
As of writing these line, I strongly suggest using an empty job since it looks like the Deploy a Node.js app template has some unexplained issues.
We will not explore all of the options, for example, triggering a release once a certain set of conditions was met. Here we will just add a single task to the release stage.

After creating the pipeline from an empty job, we will need to add a single step Azure App Service Deploy
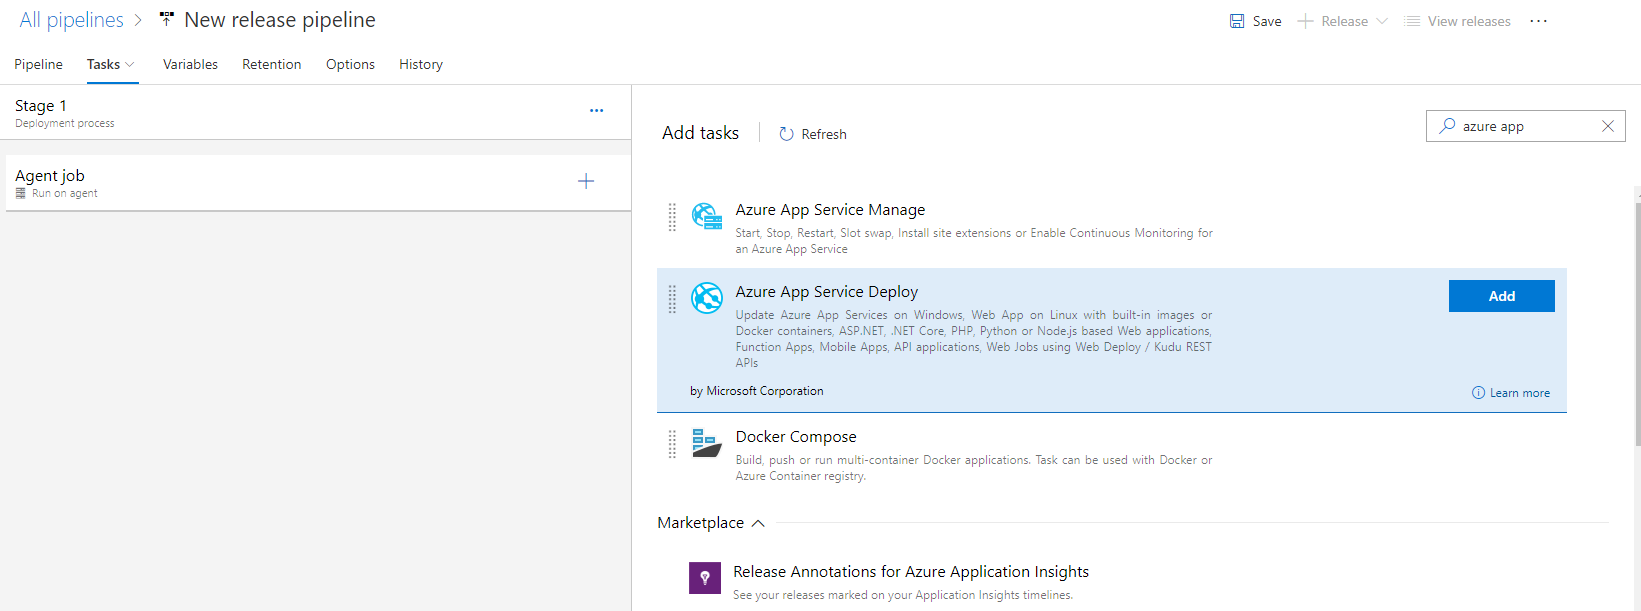
Here you will need to choose the subscription and the actual application that you want the task to deploy on.
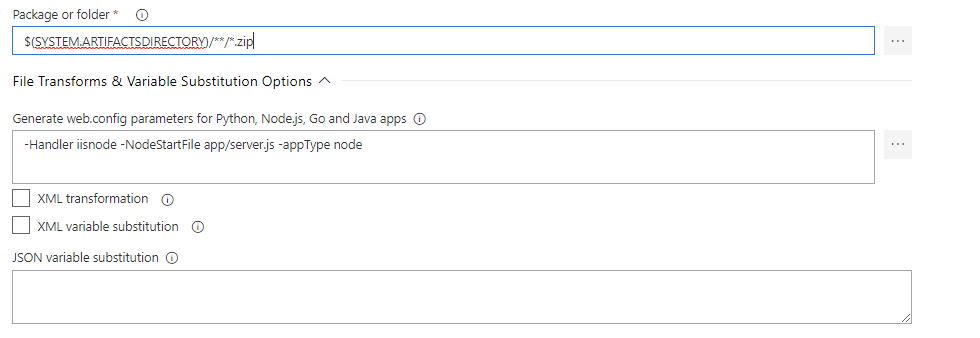
A few small changes are needed here in order to run this successfully:
- Change the Package or folder field to
$(SYSTEM.ARTIFACTSDIRECTORY)/**/*.zip
As of this writing, the latest stable version of the Azure App Service Deploy task is 3.* where the 4.* is still in preview.
A list of changes for the 2 versions can be found 3.x and 4.x
In case you are using 3.* under the File Transforms & Variable Substitution Options section check the Generate Web.config checkbox and add the following parameters
-Handler iisnode -NodeStartFile app/server.js -appType node
Note the NodeStartFile parameter pointing to the actual file that is going to be executed, in this case to the compiled .js file.
In case you are trying to use the 4.* version of the task, just add the values above to the Generate web.config parameters... input under the File Transforms & Variable Substitution Options section.
This will create a web.config file that is used by the IIS server that is running on the Web App, without it, your files will not be recognized.
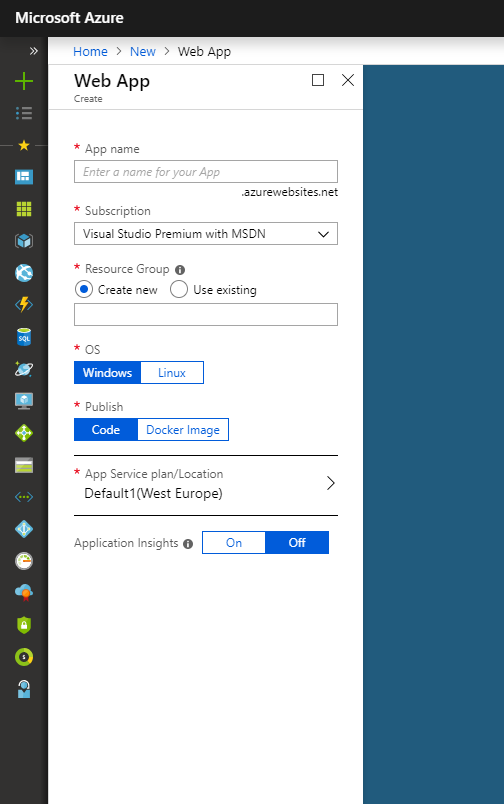
Configure the Web App
Last but not least, the Web App itself.
I am assuming that you have already created a Web App for this, if not then a new web application can be created using the Azure Portal.
You need to make sure, that while creating this new Web App you set the publish method to Code
In case you are using Node.js version later than 0.10.* you will need to set the WEBSITE_NODE_DEFAULT_VERSION environment parameter in the Application settings of you Web App to your required Node.js version.
If you are into development of REST APIs, don't forget to check out RestCase - REST API Development, Supercharged! and perhaps register for a beta.
For questions/suggestions please comment below.